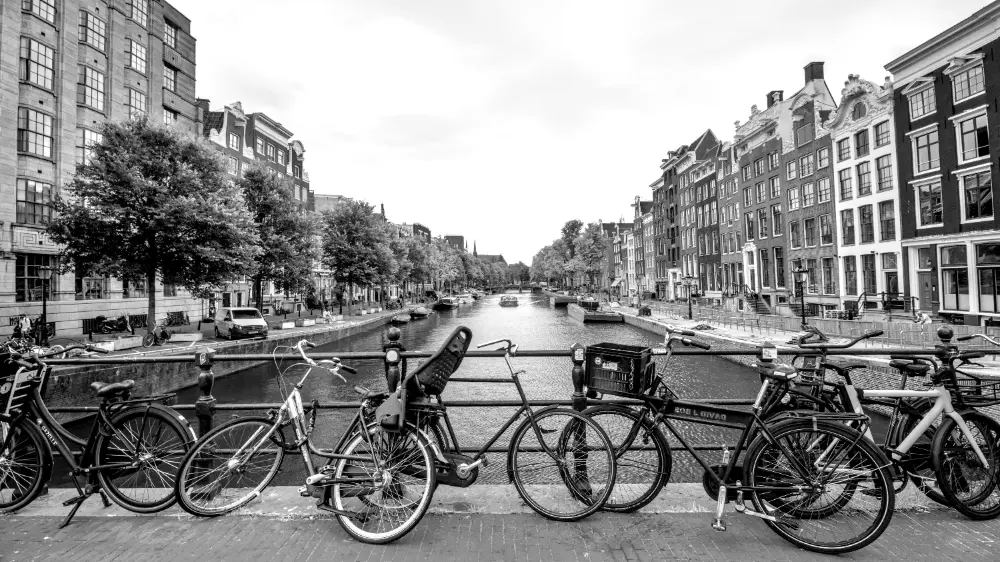
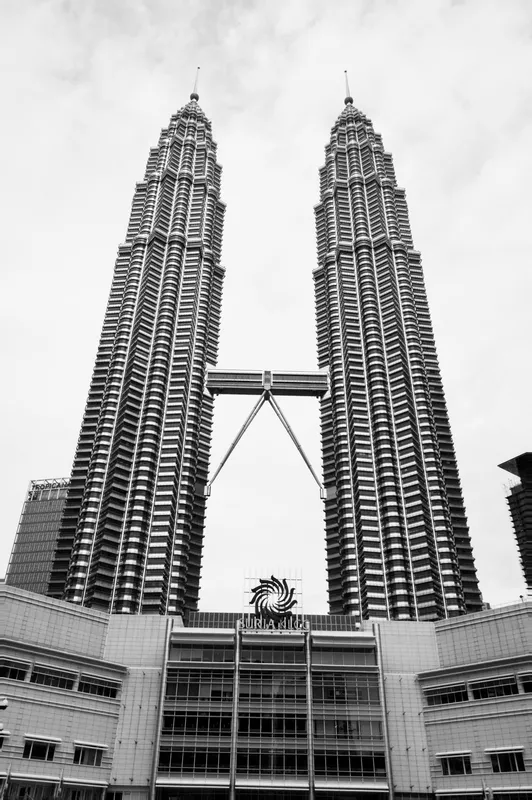
In this image, we are using an instance of the LUT 3D module with the Kodak T-Max 400 LUT from RawTherapee to convert it to black and white. The above version is good, but you can create many more moods and styles by adding color back in after converting to black and white. Let's review some...
Shooting into the sun can result in underexposure and a loss of detail, especially in the shadows. If the situation forces you to shoot into the sun, learn how to compensate for these effects in darktable.
We've discussed a number of different ways to adjust colors in darktable, including color balance rgb, the channel mixer in color calibration, rgb primaries, and color equalizer. In the upcoming 5.6 release of darktable, a new module called color harmonizer makes it easier and more intuitive than...
Green plants in landscapes don't always appear as green - they can range from shades of yellows to shades of blues depending on the lighting. In this tutorial, learn how to adjust these important shades to control the overall look of your landscape scene.
As we recently discussed, the new AgX module gives you fine-grained control over the highlights. However, additional steps may be required to really bring out the details in very bright areas like the sky. Let's look at several techniques for enhancing contrast in the highlights below.
The new AgX tone mapper and the older sigmoid module both provide controls to adjust the color primaries of the image, but what exactly does that mean? What problem are these sliders solving? Let's examine how color shifts occur when luminance changes below.
AgX, the exciting new tone mapping module coming to darktable in December, is the natural evolution of the tone mappers that came before it. AgX reduces distortions and gives unprecedented control over the entire tone curve. Learn more about the history of tone mappers in darktable and see what...
Sometimes you have the opportunity for a great shot but it's blocked by a fence, tree, power lines, or other immovable objects in the foreground. It's often possible to remove these distractions using darktable's powerful retouch module and significantly improve the image. Let's walk through a few...
These beautiful buildings were quite colorful, yet the vibrance of the colors is lost in this capture due to the extreme difference in contrast between the parts in direct sunlight and the parts in the shade. Let's see how to bring this scene to life so it more accurately reflects how it looked in...
They usually aren't light, and they certainly aren't small, but the unique perspective a telephoto lens brings makes it an indispensable part of your kit, even when traveling. Let's review some shots taken with a telephoto to see how we can justify its size and weight.
At first glance, the exposure module might seem quite basic. However, this module combined with darktable's powerful masking features can be used for a wide variety of purposes; let's explore these below.
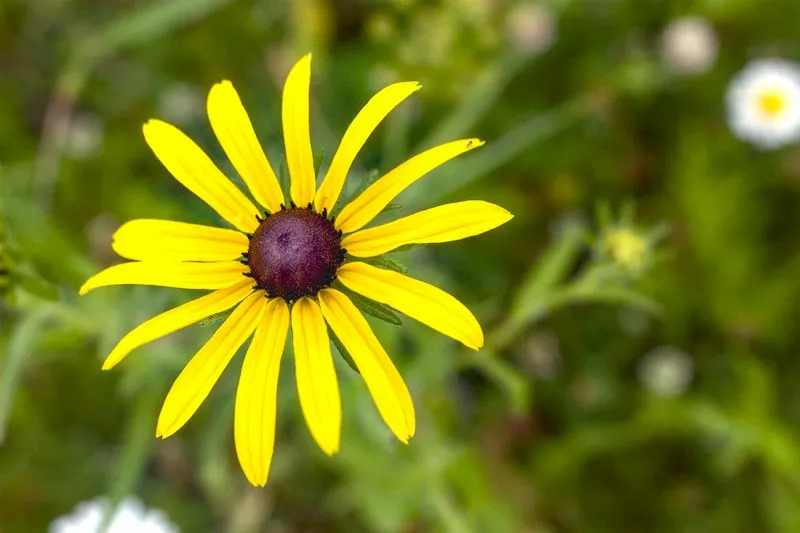
April showers bring May flowers, but what do May flowers bring? An article about color harmonies. Let's explore how color theory can help make these photos of spring flowers pop.
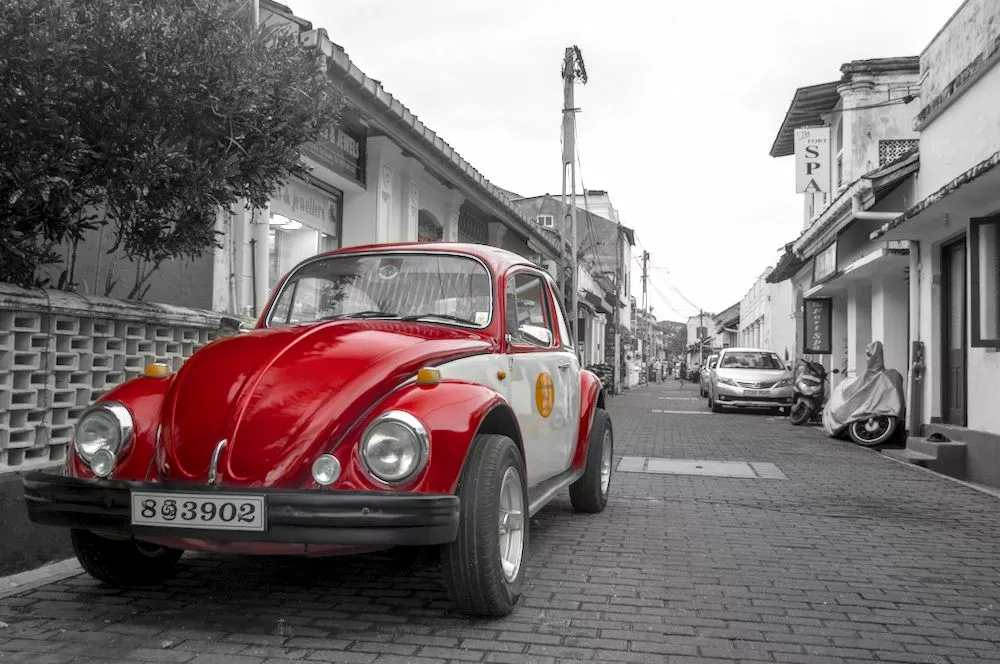
On the surface, taking photos of cars seems easy enough. However, you can really take your automotive photography to the next level with a few simple capture techniques and some creative post-processing in darktable.
When your subject is old and historic, it may be desirable to give the entire image an aged, analog look. Using the color wheel, let's explore how to create an analogous color harmony and give and old-time look to this photo.
Scenes with a high dynamic range can be challenging to work with - either you risk blowing the highlights or the shadows are way too dark. Let's learn how to compress a high dynamic range scene in darktable using both filmic rgb and sigmoid to compare how each of these tone mapping modules works.
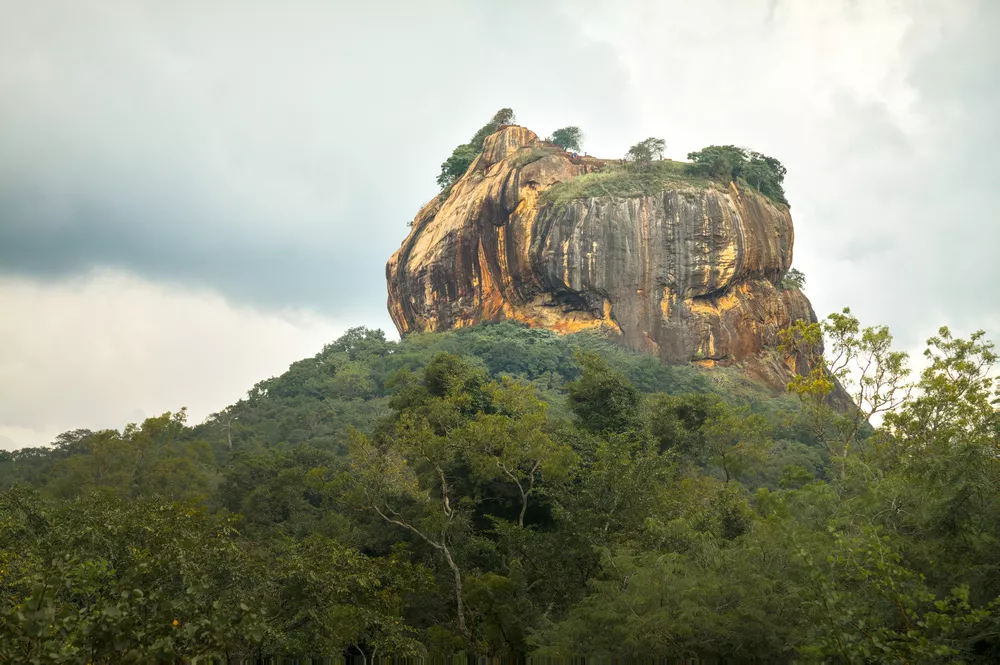
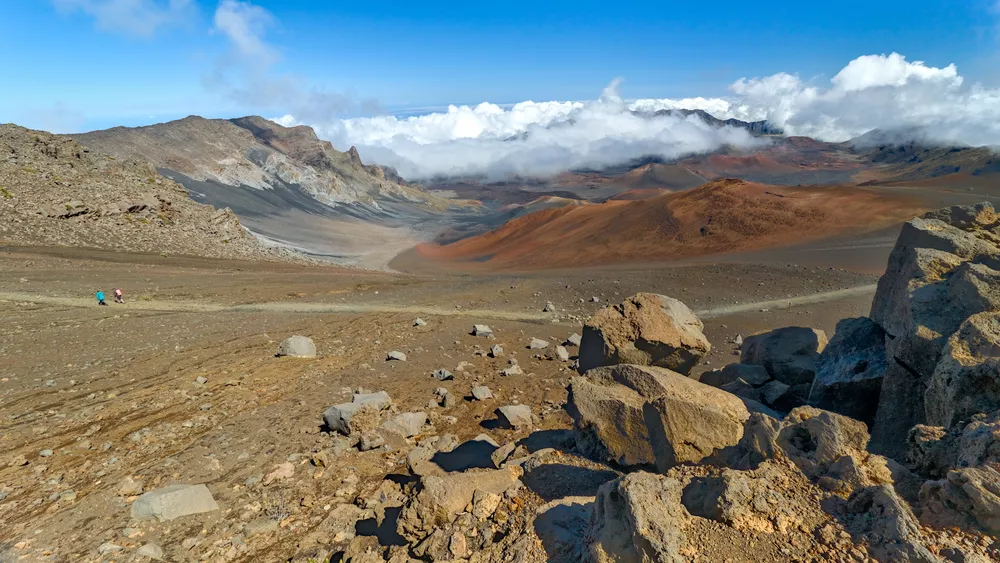
The mighty Sigiriya rises from the surrounding plains in dramatic fasion. This UNESCO World Heritage site is both impressive and beautiful to see. Let's look at how to bring out this beauty and detail in darktable.
Sunsets can have many fantastic colors, but they may not be very visible on the initial edit of an image. Let's explore how to bring sunset colors to life with this beautiful tropical silhouette.
Much of the advice for composition revolves around certain times of day (e.g. the Golden Hour or Blue Hour) or certain conditions (cloudy vs sunny, the angle of light, etc) in order to take interesting photos. To shoot during these conditions, you often need to devote a lot of time to planning and...
Shooting far-away subjects often results in haze, characterized by a loss of contrast and a loss of detail. Fortunately, sigmoid is well-suited to recover this contrast and pairs well with the haze removal, local contrast, or diffuse or sharpen modules to reverse the haze. Let's dive in and see...
A graduated neutral density filter (or GND) goes over your lens and reduces the brightness (typically for about half of the image) without changing the color temperature. This is useful in scenes with high dynamic range where you can't correctly expose all parts of the scene (because it contains...
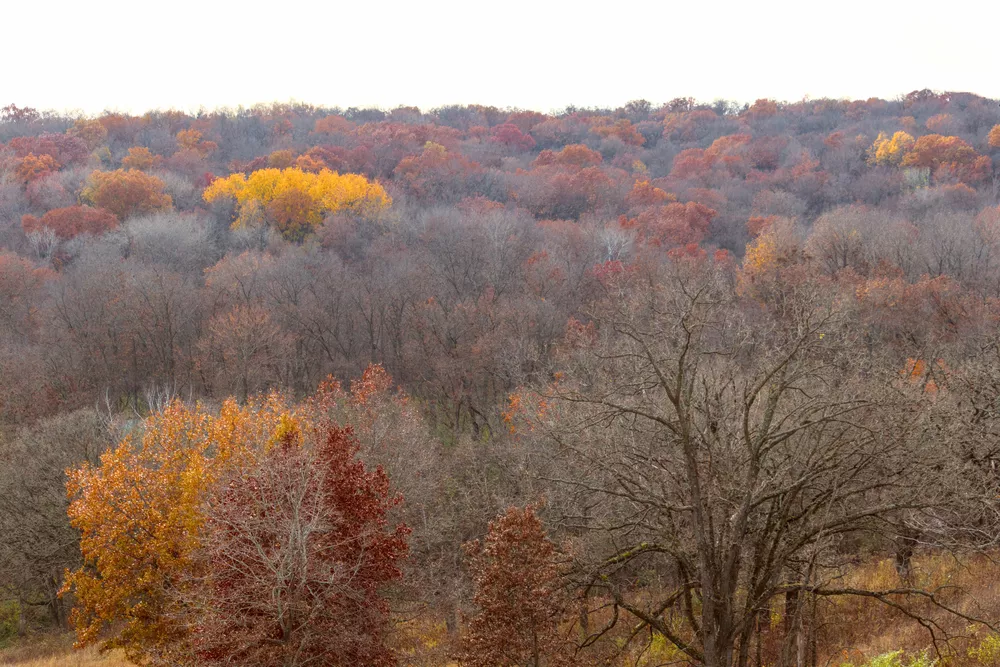
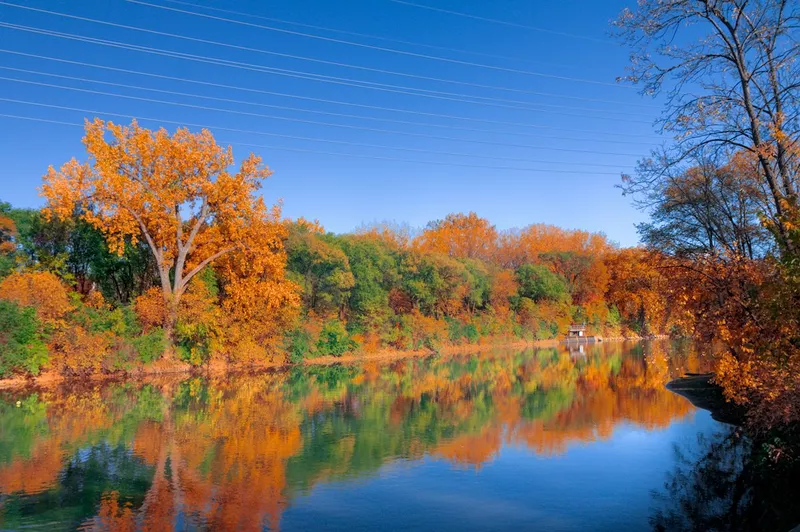
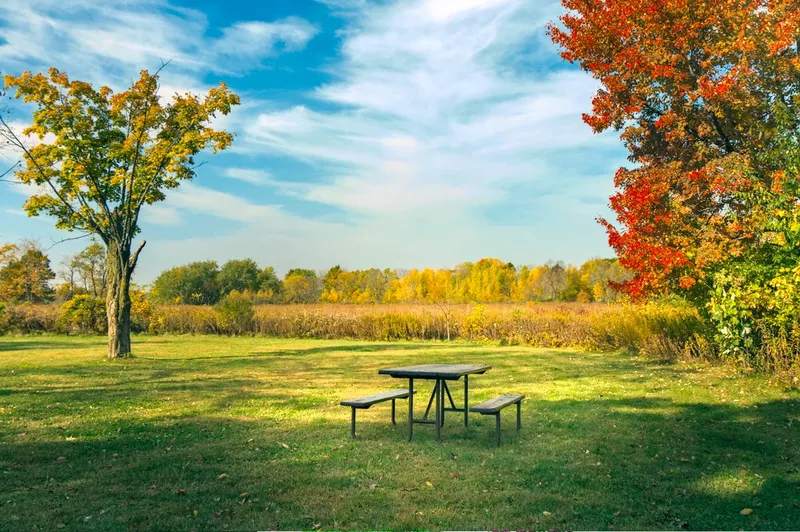
Fall colors are a great opportunity to utilize analogous and complementary color harmonies in a scene. Let's see how to use the RYB color wheel to create a color harmony and bring fall scenes to life.
Darktable's powerful drawn masks and parametric masks let you quickly and easily make targeted edits to only part of an image. Let's learn how to use both types of masks and then make several example adjustments.
When shooting a scene with elements at a wide variety of distances from the camera, like a landscape, you can easily end up with some elements of the scene out-of-focus. Fortunately, by understanding the hyperfocal distance and using a wide-angle lens, you can easily ensure your photo is sharp and...
Sometimes a great shot involves pointing your camera in the direction of the sun. Even if it isn't actually present in the field-of-view, direct sunlight can still cause distortions in the image called lens flare. Fortunately, darktable provides some powerful tools for correcting these aberrations.
The new color equalizer module in darktable 4.8 brings an easy, scene-referred approach to targeted color adjustments using familiar hue, saturation, and lightness/brightness tabs.
Sometimes a composition is quite busy and it's hard to isolate focus on the main subject. Using selective color to make the subject stand out can not only quiet down the image but also add add an element of contrast to the scene. Let's look at several examples.
Maybe you just missed the peak colors of a sunset, or maybe you just want to apply an artistic interpretation to a photo. Darktable offers powerful and easy-to-use tools for blending new colors into a scene; let's take a closer look at some different techniques for how to do this.
It's hard to overstate the power of the tone equalizer module in darktable: it can perform tone adjustments on the whole image or only a certain luminance range and preserve details throughout the process. This module has a lot of options, which can seem intimidating at first (especially if coming...
At first glance, the flower above might look fine. However, there is a hue shift going on which makes the flower look green/yellow even though it should be an orange/yellow. This phenomenon is present on a huge number of the JPEGs generated on-the-fly (also know as out-of-camera JPEGs) from...
When developing a photo, you may want to change the color of an object or set of objects in a scene while not altering other parts of the image. In this example, the autumn colors were just starting to change but would have appeared much more dramatic a week or two later. Let's show how we can use...
Using a circular polarizer and knowing how to selectively enhance contrast with the local contrast module can make reflections stand out and give an image a much more dramatic look.
The new sigmoid module in darktable 4.2 makes it easy to create dramatic black and white compositions. While there are many ways to achieve this effect in darktable, sigmoid makes it fast and easy.
Adjusting the white balance of a photo is a fundamental skill needed when developing RAW files. In this tutorial, we take it a step further and show how to use darktable's powerful selective white balance to use different white balance settings on specific parts of the image. Typically, this would...
Mastering the channel mixer allows you to not only adjust white balance, but also creatively color grade a photo to set the mood, change the luminosity, and make local adjustments to specific areas of the photo. In this example, we use color calibration to highlight a subject when the surrounding...
When you think of contrast, you are probably thinking of luminosity contrast, but color contrast can play an important role in creating a vibrant, dynamic image too.
Darktable's powerful parametric masks, combined with the ability to layer multiple instances of a module with a separate set of adjustments applied to each, makes it possible to quickly make high-impact edits. In this example, an additional exposure module directs the viewer's attention to the...
Quickly get started with the darktable scene-referred workflow using easy, step-by-step instructions. Learn the purpose of each step rather than just clicking buttons and moving sliders, so these actions become intuitive when developing your photos.